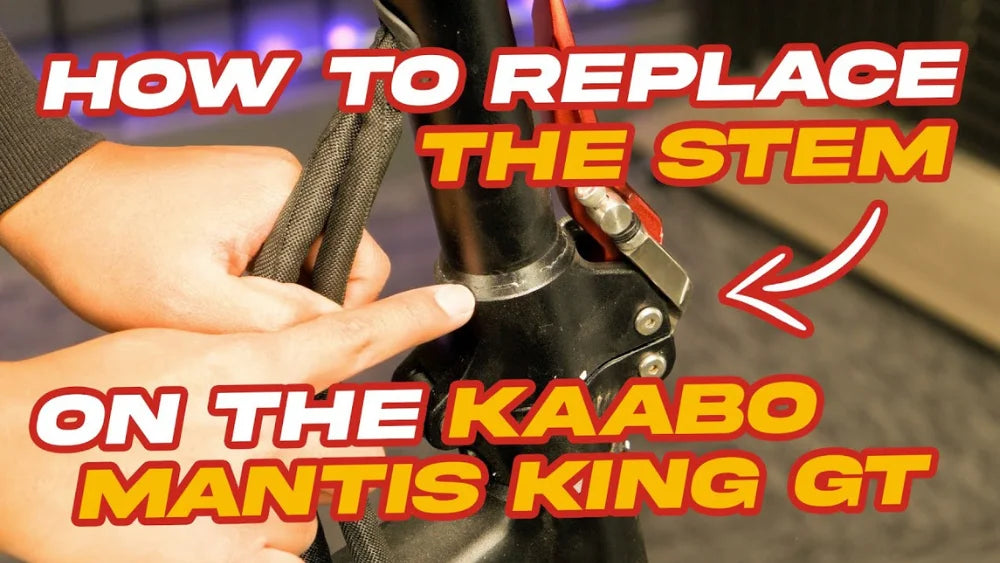

How to Replace the Stem on the Mantis King GT
In this article, we will guide you through the Mantis King GT stem replacement. This portable scooter weighs only 74 lbs and features a pull-down mechanism for easy folding and unfolding.
There are several reasons why you might need to replace the stem on your electric scooter. One common cause is damage or stress due to accidents and wear and tear over time.

If you notice hairline cracks on your Mantis King GT, it could be due to force and vibrations from riding that impact a stress point where the separate pieces of the stem are welded together. Kaabo produced a new stem with a firmer, thicker weld for higher durability.
If you purchased a Mantis King GT from VoroMotors and have experienced this issue, please contact us for a complimentary replacement stem.
Tools
- 3 mm hex key
- 4 mm hex key
- 5 mm hex key
- 5 mm allen key
- 8 mm wrench
- 10 mm socket wrench
- Hammer
- Vice grips
- Needle nose pliers
- Torch
- Painter’s tape
- Zip ties
- Towel
How to Replace the Stem on the Mantis King GT
Before replacing the electric scooter stem, the first step is to turn off the power. This is to ensure safety and prevent any electrical mishaps during the replacement process.
Once you have done this, the next step is to cut off the zip ties and remove the black nylon wrapping around the main connectors and brake lines.
Disconnect the Plug-and-Play Connectors

- First, disconnect the main connectors and brake lines located at the top of the scooter by gently pulling them apart.
- After disconnecting, remove the rubber cover and use the 8 mm wrench to unscrew the brake lines on both sides.
- Have a towel ready to catch any brake fluid that drips out.
- To avoid confusion, use painter’s tape to mark one of the brake lines before removing them. This will help you identify which line goes where later and ease reconnection.
- Then, remove the rubber gaskets from both sides of the stem to make it easier to feed the brake lines down the stem of the scooter. Pull the lines out through the bottom of the stem.
- Similarly, use tape to mark one side of the main connectors and pull them down and out of the stem.
Remove the Headlight

- Using the 4 mm hex key, unscrew and remove the headlight.
- Set the headlight aside for installation on the new stem.
Remove the Handlebar

- Using the 5 mm hex key, unscrew and remove the 4 handlebar screws.
- Lift the handlebar off of the scooter and carefully place it on the side.
Remove the Stem

- Start by folding the stem down.
- Next, using the 3 mm hex key, remove the screws on both sides of the stem. Be careful not to strip them as they will be secured with Loctite.
- After the screws are out, use a hex key and hammer to tap out the housing. If necessary, use a torch to heat the Loctite and loosen the housing for removal.
- Once the stem is free, remove the round silver locking pin on the folding mechanism using the vice grip and some elbow grease. If it doesn't come off easily, use the torch to loosen the Loctite.
- Using the 3 mm hex key, remove the 2 screws on either side of the folding mechanism and tap out the housing with a hex key and hammer.
- Next, using the 10 mm socket wrench, unscrew the handlebar stem adapter. Hold the other side of the screw with the 5 mm allen key to hold in place.
- Finally, remove the screws to release the stem adapter from the original stem.
Install the New Mantis King GT Stem

- Place the stem adapter on the new stem. Use a 10 mm socket wrench and 5 mm allen key to attach the stem adapter onto the stem.
- Install the folding latch at the bottom of the stem. Using a hammer, tap the housing into the latch, and use a 3 mm hex key to reinstall the screws on either side of the latch.
- Next, screw in the locking pin and tighten firmly with vice grips.
- Now, line up the holes and latch on the stem with the neck of the scooter.
- Last, use a hammer to knock the housing into place and reinstall screws on both sides of the stem using the 3 mm hex key.
Reattach the Handlebar and Headlight

- Using the 5 mm hex key, replace the 4 screws to secure the handlebar back onto the stem.
- Using the 4 mm hex key, reattach the headlight.
Reconnect the Cables and Brake Lines on the Mantis King GT

- Start by feeding the main connectors and brake lines up through the stem.
- To more easily get them out of the inside of the stem, use needle nose pliers to pull them up and feed them through the opposite side.
- Repeat this process to feed the brake lines through the top of the stem.
- To prevent the rubber cover on the brake lines from getting stuck inside the stem, use painter’s tape to secure the end.
- Pull the cables through the rubber gaskets, and seat them into the holes on either side of the stem. These keep the cables from wearing along the metal edge of the stem.
- Next, reconnect the main connectors by matching the corresponding colors.
- Using the 8 mm wrench, screw in the brake lines and replace the rubber covers on both brake levers.
Final Touches on the Mantis King GT Stem Replacement

- Once brakes are connected, use a towel to wipe away any excess brake fluid.
- Tie the cables together using zip ties to keep the cables in the cockpit neat.
- Then, wrap the cables in the black cloth for protection.
- Finally, secure the cloth-wrapped cables in place using another zip tie.
We hope this scooter tutorial has been helpful in guiding you through the process of replacing your Mantis King GT stem. However, if you encounter any difficulties or have any questions, please do not hesitate to contact us for additional assistance or servicing. Our team of experts is always ready and willing to help you get back on the road as quickly and safely as possible!
If you like this step-by-step tutorial, please visit our YouTube channel for more awesome electric scooter content.
Leave a comment
Comments will be approved before showing up.